Selling
Your first bake sale: a practical plan for home bakers.
Plan your first home bakery sale with a small menu, realistic quantities, simple pricing, and a clear schedule for preorders, baking, and pickup.
At a glance
- Choose a few proven bakes and use a practice run to set realistic quantity limits.
- Include packaging, work time, overhead, and fees when you calculate your prices.
- Share a clear order deadline and pickup window, then plan backward through packing, cooling, and baking.
You know which cookies disappear first when you bring a box to work. You’ve heard “you should sell these” more than once. Now you’re ready to offer a small batch for sale, and suddenly there are questions a favorite recipe can’t answer: how many to make, what to charge, and when everyone will pick them up.
For a home baker’s first paid sale, a useful starting point is a short menu, a limit on each product, an order deadline, and a collection window. Preorders let you gather commitments before deciding how much to bake.
Here’s how to put that plan together, with examples you can adapt to your kitchen and customers.
1. Choose a small menu you’re ready to sell.
Before announcing anything, check your state’s current cottage-food requirements for your recipes and how you intend to sell them. Find out what registration, training, packaging, and label information apply. If you’re joining an event, ask the organizer about vendor and sampling requirements too.
Start with Ovenbell’s state directory, then confirm the details with the relevant authority. Avoid assuming that advice from another state applies to you. For example, Texas now permits certain foods requiring temperature control under additional conditions, so even the familiar advice that cottage foods must always be shelf-stable isn’t a nationwide rule.
Pick recipes you can repeat comfortably
One to three familiar products gives you a manageable starting menu. A reliable cookie and a brownie you already make well can be plenty. Choose bakes that:
- Come out consistently at the size you plan to sell.
- Fit the baking, cooling, and storage space you have.
- Travel well in packaging you have tested.
- Share some ingredients or preparation steps.
Keep the choices simple too. “Six chocolate-chip cookies” is easier to make and pack than a box where every customer chooses six different flavors. Save a new recipe or custom assortment for a sale when you have more experience with the routine.
For more help narrowing the options, read A smaller menu can do more.
2. Turn your menu into a realistic quantity limit.
Do a practice run before you take orders. Record the usable yield and how long the whole job takes, including portioning, cooling, packing, labeling, and cleanup. Check how many trays and finished boxes you can accommodate at once. Leave some time unallocated for a batch that needs attention or a missing supply.
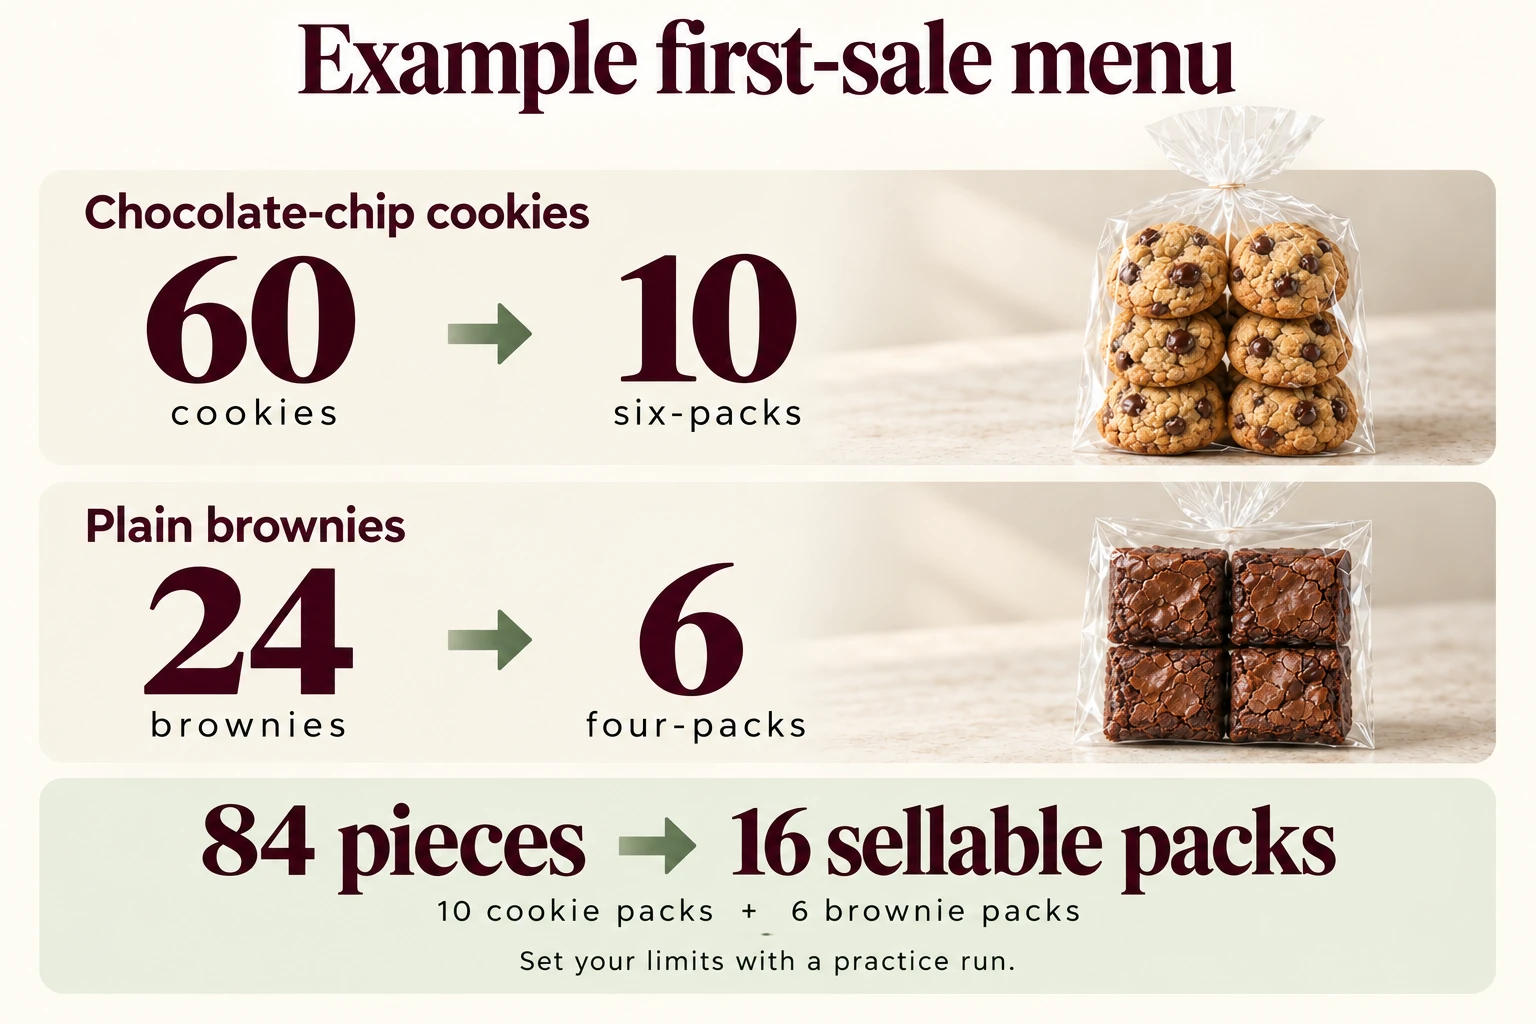
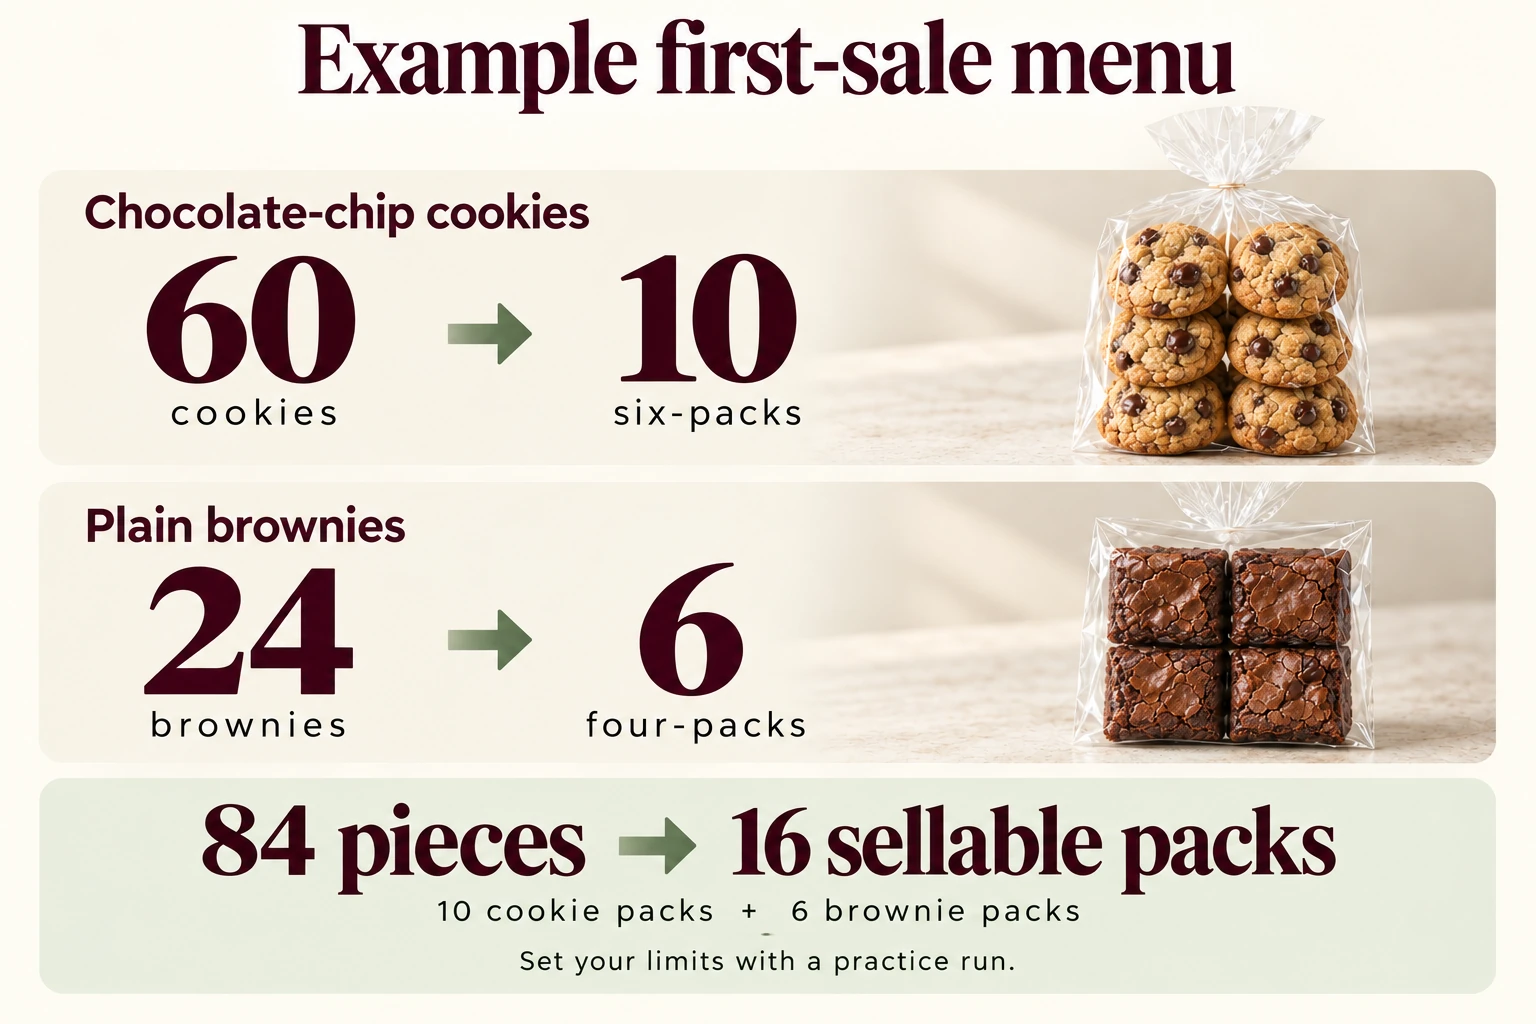
Then convert individual pieces into the packs customers will buy. Here’s an illustrative two-product plan:
| Product | Batch output | Packs offered |
|---|---|---|
| Chocolate-chip cookies | 60 cookies | 10 six-packs |
| Plain brownies | 24 pieces | 6 four-packs |
That’s 84 pieces and 16 sellable packs. It isn’t a forecast of 16 customers: someone might order several packs, and you may receive fewer orders than your limit. Your own quantities should come from the combined practice run.
Close ordering when you reach the limit or your deadline, whichever comes first. Build the final bake list from confirmed orders. If a recipe’s batch size leaves extras, decide how to use them and include their cost.
For a walk-up sale, ask the organizer about past attendance and comparable food vendors, but treat those answers as context. One cottage baker reported repeatedly bringing home most of their stock. That’s one experience, but a useful reason to choose an amount of unsold stock you could afford rather than baking enough to fill a table.
3. Price the whole job, including your time.
Work out the cost of a batch before choosing a selling price. Include ingredients actually used, packaging and labels, your work time, and a share of overhead such as utilities and equipment costs. Add any event costs and payment fees that apply.
For the ten cookie six-packs above, the calculation could look like this. These figures are made-up teaching amounts; replace them with your receipts and measured time.
| Cost | Amount |
|---|---|
| Ingredients used | $24 |
| Ten boxes and their labels | $10 |
| Two hours of work at $20 an hour | $40 |
| Allocated overhead | $6 |
| Total before payment fees and profit | $80 |
| Cost per six-pack, if all ten sell | $8 |
The labor allowance should cover the relevant shopping, preparation, baking work, order handling, packing, and cleanup. Use the time your process actually takes; two hours isn’t a target.
The $8 figure is a cost floor before payment fees and profit. It isn’t a suggested retail price. If you make all ten boxes but sell only eight, the full production cost still needs to be covered by those sales.
Next, compare similar products locally, taking portion size and ingredients into account. Choose a price that covers your costs and leaves the profit you need. If that price seems hard to sell, revisit the pack size, recipe, or production process before quietly removing your own pay from the calculation.
Penn State Extension’s pricing worksheet walks through costs, break-even sales, and profit goals if you want to work through the numbers in more detail.
4. Make a clear offer and give orders one home.
People need enough information to decide whether this sale fits their plans. Share a photo of the actual bake, the pack size and price, the order deadline, and the pickup date, area, and time. Link to complete product and ingredient information, including allergens and any disclosures required before purchase.
Start with likely local buyers: people who already know your baking, nearby contacts, or community groups that permit business posts. You can adapt this announcement:
I’m taking orders for Saturday’s bake! [Product and pack size] is [price], and [second product and pack size] is [price]. Orders close Thursday at 8 p.m., or when the available quantities are reserved. Pickup is Saturday, 2–4 p.m., in [area]. See the full menu, ingredient information, payment details, and pickup instructions here: [order link].
Choose a collection window your intended customers can attend. A Saturday afternoon slot might suit your kitchen schedule but conflict with theirs. Ask a few likely buyers before committing to it.
Keep the order record complete
A simple form and a carefully maintained list can work for a first sale. Record:
- Customer name and a reliable contact method.
- Product, pack size, and quantity.
- Total price, payment status, and any balance due.
- Pickup date, window, and agreed notes.
Tell customers when payment is due and explain cancellation and late-pickup terms before accepting their orders. Send a confirmation with their items and collection details. Check that payments have actually arrived; an order message and a payment are separate things.
Ovenbell brings your shop, orders, payments, and pickup details together when you want one place to manage them. Whatever tool you choose, keep every confirmed order on the same list, including orders arranged in messages.
Opening an order page is only part of finding customers. Make the offer easy to understand, share it where relevant buyers will see it, and follow up with a reminder before the deadline.
5. Work backward from the pickup window.
Once you’ve chosen the handover time, plan when packing must finish, when each bake needs to be ready, and when preparation should start. Use the timings from your practice run, including the cooling or temperature-controlled storage your products need.
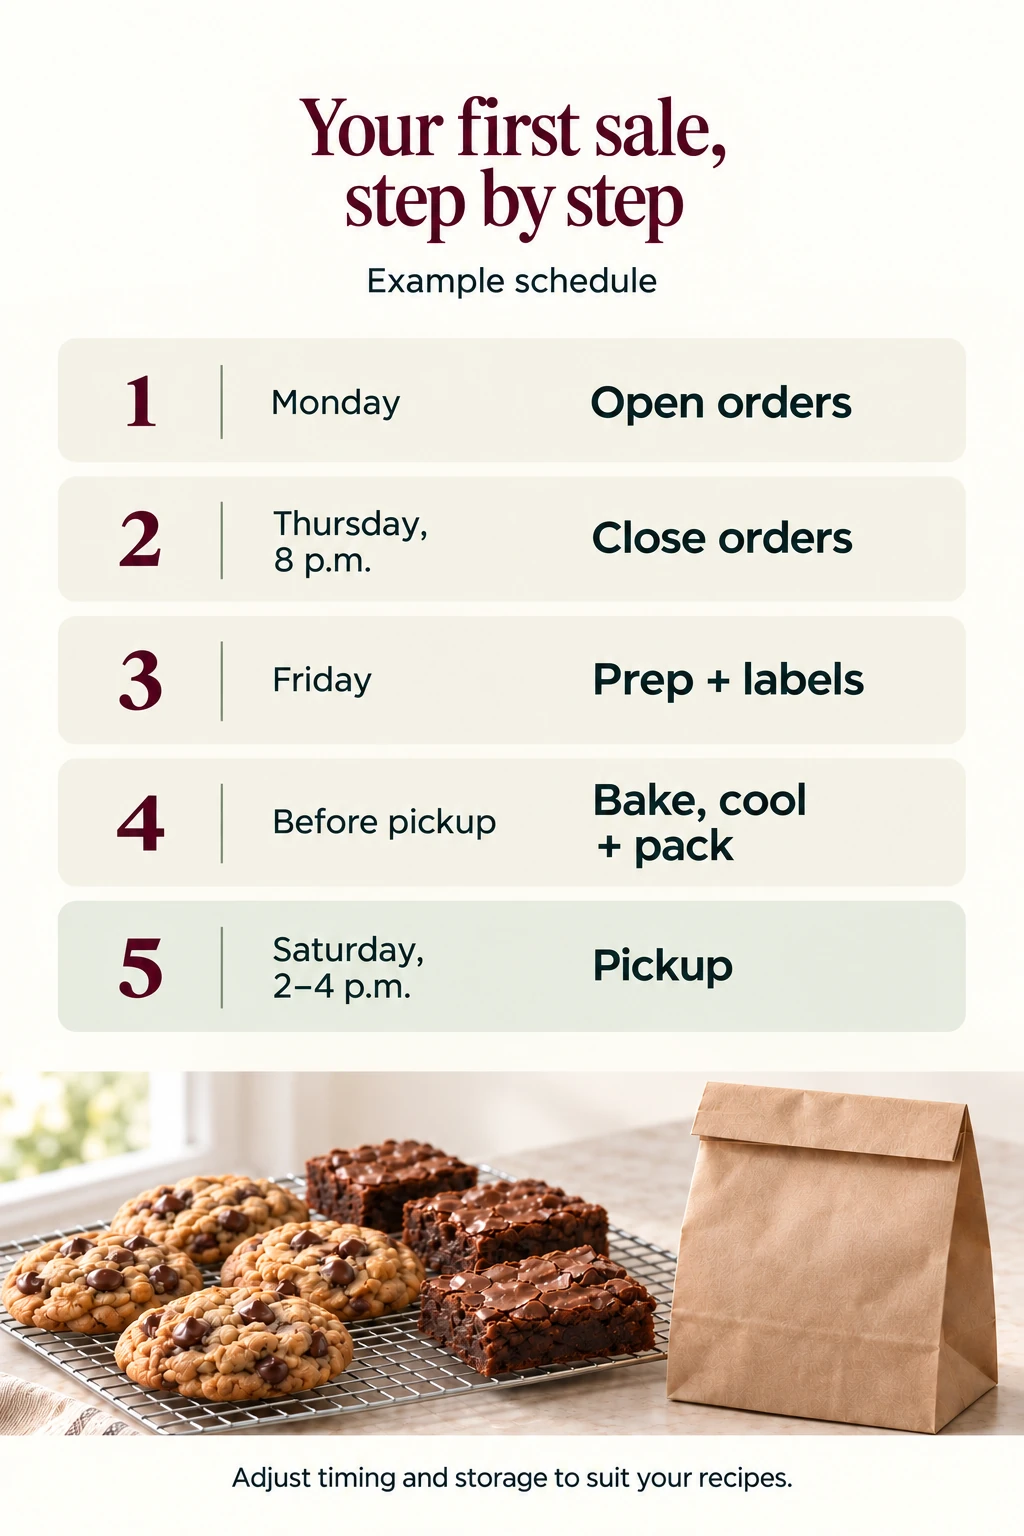
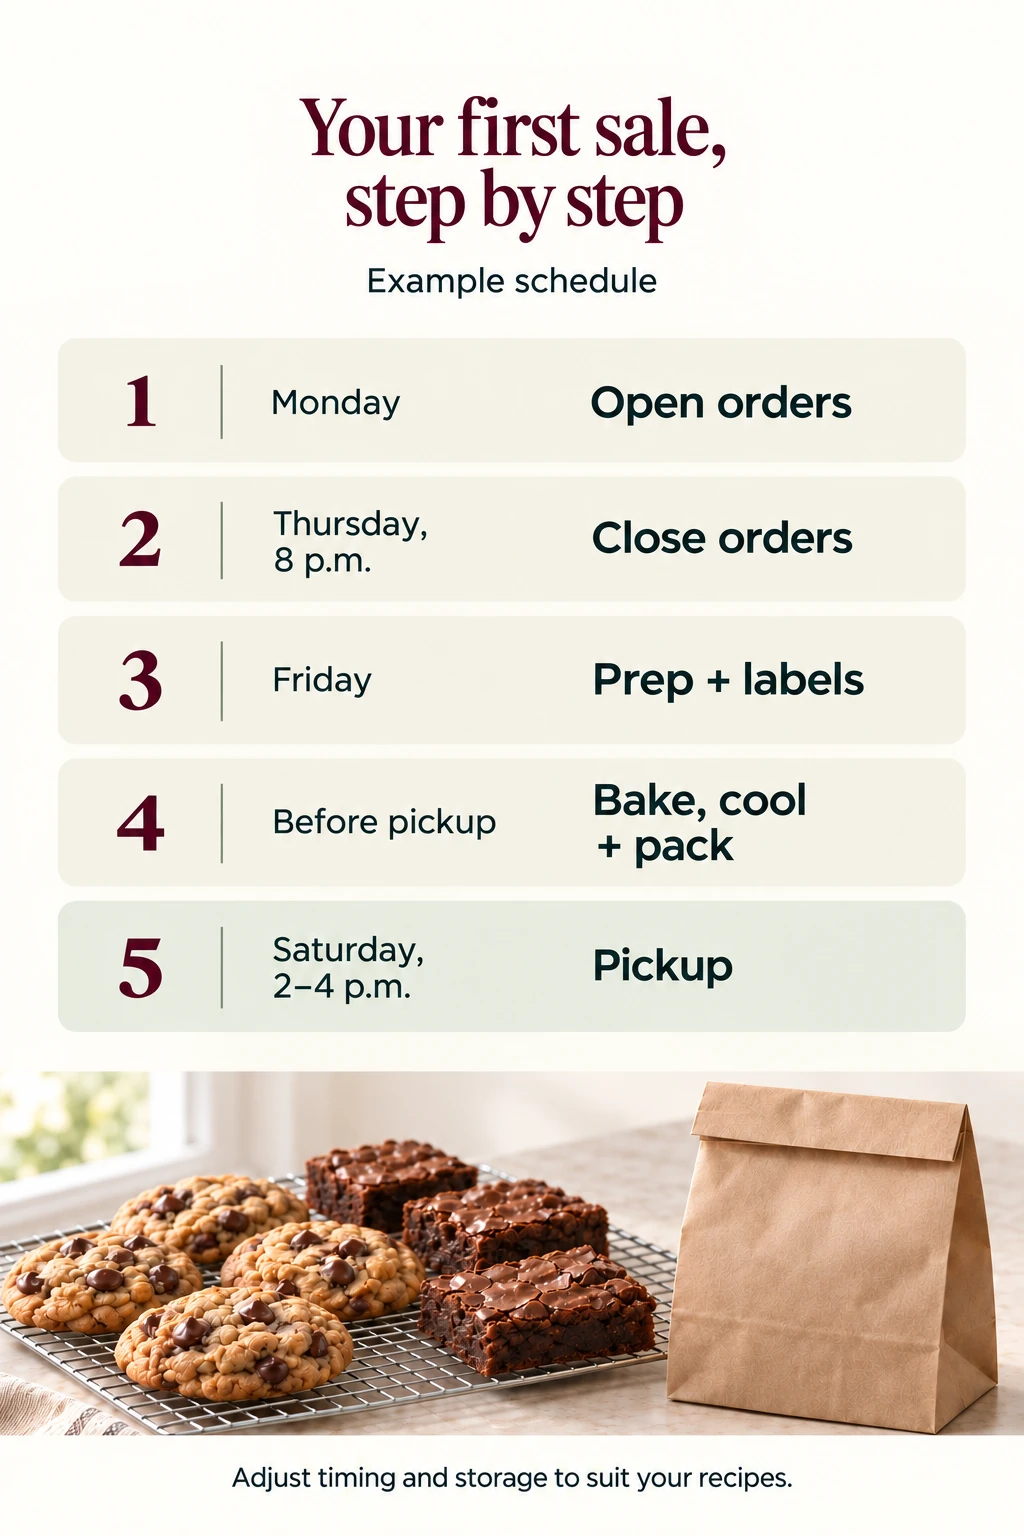
Here’s an example for a Saturday sale:
- Before launch week: Check requirements, test the recipes and packaging, calculate prices, and choose your limits.
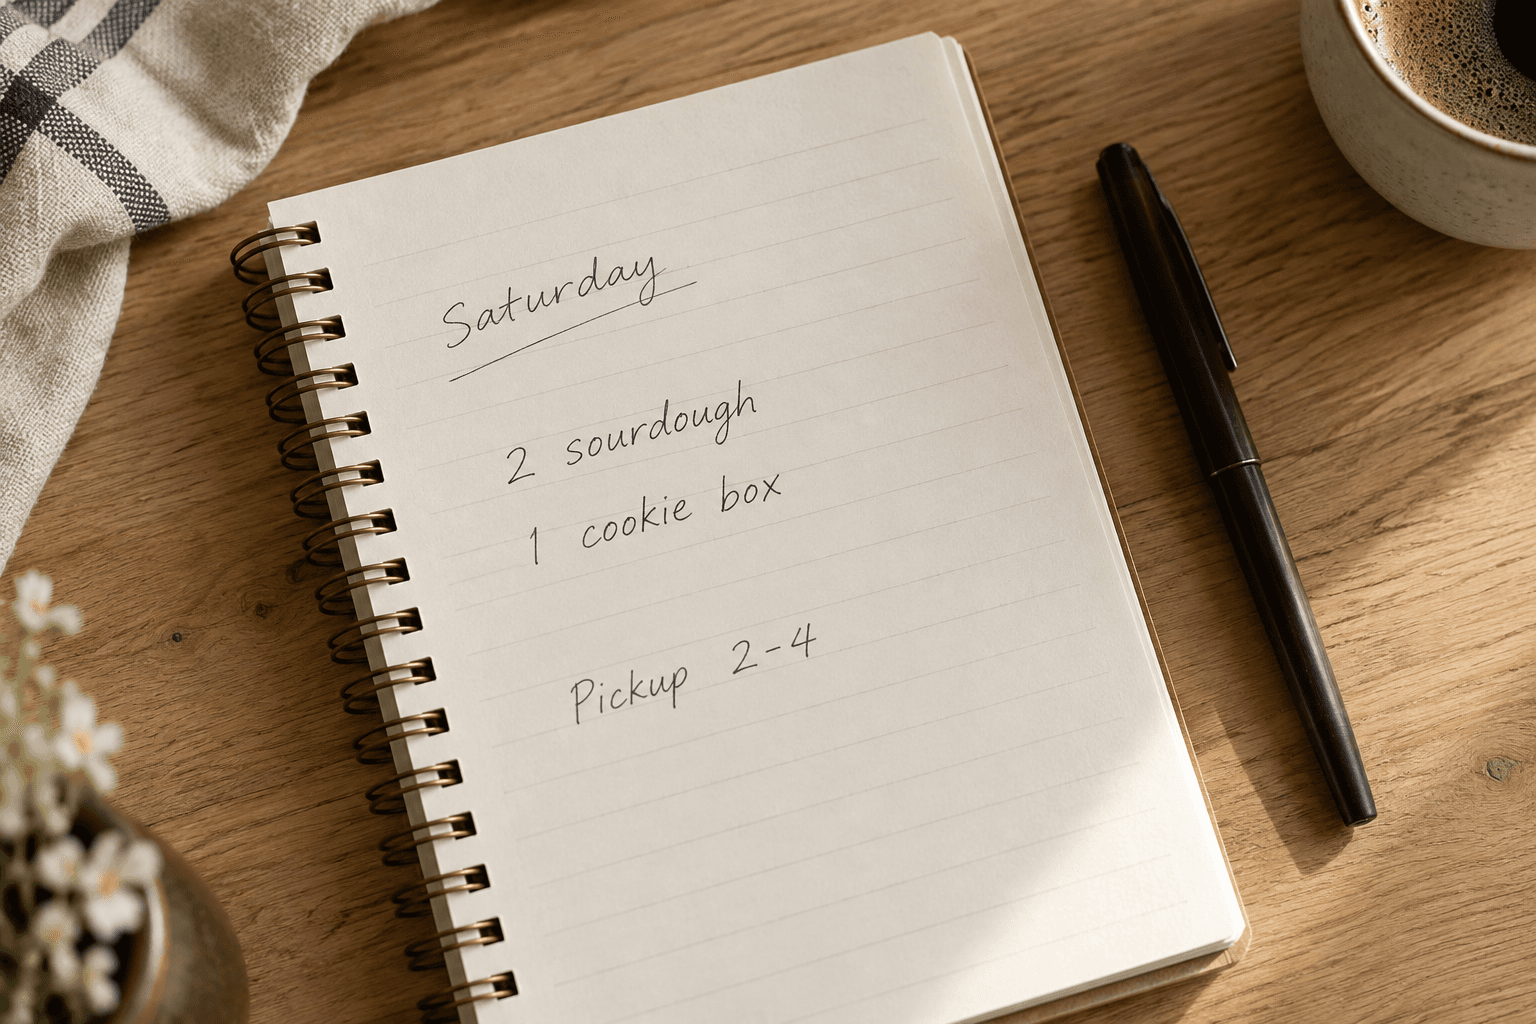
- Monday: Share the menu and open orders.
- Thursday at 8 p.m.: Close orders, check payments, and total the quantities for each product. Make the final shopping and bake lists.
- Friday: Prepare labels and supplies. Do any advance preparation that suits your recipes and safe storage plan.
- Before Saturday’s pickup: Complete baking, appropriate cooling, packing, and order checks. Leave enough time to finish without moving the promised collection window.
- Saturday, 2–4 p.m.: Hand over orders and mark them collected.
Move the baking earlier if that is what your products need. If you plan to freeze anything, test the full thawing and serving process before selling it. The schedule should follow the food, rather than forcing every recipe into Saturday morning.
Pack a complete order before customers arrive
Try your actual bakes in the bags or boxes before buying packaging in bulk. Make sure the packaging is intended for food contact and protects the product on the journey home.
For ordinary cookies and brownies that do not require temperature control, allow them to cool before sealing them; King Arthur recommends cooling baked goods before packaging. Foods requiring refrigeration or other controls need their own safe handling plan.
Prepare the food labels required for your product and location. A customer’s name on the outer bag helps you find their order, but it doesn’t replace the product label. Minnesota Extension’s guidance, for example, explains that a QR code cannot replace required printed label information in Minnesota.
Check allergens in all ingredients, including purchased chocolate, fillings, and decorations. The FDA recognizes nine major food allergens: milk, eggs, fish, crustacean shellfish, tree nuts, peanuts, wheat, soybeans, and sesame. Its guidance also makes clear that a “may contain” statement cannot replace practices that control allergen cross-contact. Avoid promising an allergy-safe product just because you left an ingredient out.
Add storage instructions suited to the bake. Keep products protected and under any required temperature controls until handover.
Send one useful reminder
Before collection day, send each customer the information they need to arrive and find their order:
Hi [name], your [items] are scheduled for pickup Saturday, 2–4 p.m., at [location]. [Arrival instructions.] Payment status: [paid / amount due and accepted method]. If you’re running late, contact [method] before the window ends so we can discuss the available options. Thank you!
Arrange packed orders by name or pickup time. Check the name and contents at handover, then mark the order collected and record any final payment. If someone misses the window, contact them and follow your stated terms and safe storage limits.
6. Give yourself ten minutes to review the sale.
Before putting the order list away, record how many packs you offered, how many were ordered, how many you made and sold, and what remained. Add revenue, ingredient and packaging costs, fees, and your actual work hours. Compare those hours with the labor allowance in your price.
Then ask what made the day easier or harder. Did packing take longer than expected? Did customers understand the pack sizes? Was one pickup instruction missing? Which product would they buy again?
If you received only a few orders, look for the next useful adjustment. Ask a likely customer whether the product, price, location, or collection time made ordering difficult. Likes and compliments are encouraging, but confirmed orders give you a clearer basis for the next batch.
Change one or two things for the next sale so you can see whether they help. You might offer fewer varieties, choose a better pickup window, or use packaging that takes less time to assemble. For ways to make returning easy, read Turn one order into a regular.
Your first sale gives you something you couldn’t get from planning alone: experience with your own recipes, customers, and schedule. Keep the notes. They’ll make the next menu much easier to put together.
A little more clarity
Your questions, answered
How much should I bake for my first sale?
Set an upper limit from a timed practice run, then use confirmed orders to make your final bake list. Account for the time and space needed to cool, pack, and store everything. There is no quantity that suits every first sale.
Do I need a website to take my first orders?
A simple form and one carefully maintained order list can work. Make sure customers can find product details, prices, payment terms, and pickup information, and send each buyer a confirmation. Keep orders arranged in messages on the same list.
Can I bake ahead of pickup day?
Use a schedule suited to your recipes and their safe storage requirements. If you plan to freeze a product, test the full thawing and serving process before offering it for sale. Different bakes will need different preparation and storage plans.
What if I only get a few orders?
Use those orders to learn your production routine and actual costs. Ask likely customers whether the product, price, pickup location, or collection time affected their decision. Make one or two adjustments before the next sale rather than assuming a bigger menu will solve it.